Creating Your Own Windlight
Hi all! This is my first post to SL Blogger’s Support and I’m so thrilled to be a member of this team. When I was applying to contribute here, I thought long and hard on what kinds of things I could possibly help the SL blogging community with. Then I saw that my fellow blogger, Lyrical Ember, had previously done a post touching on editing a windlight and I thought I’d take that a step further and show you how to create your own windlight and explain in my words what each slider does.
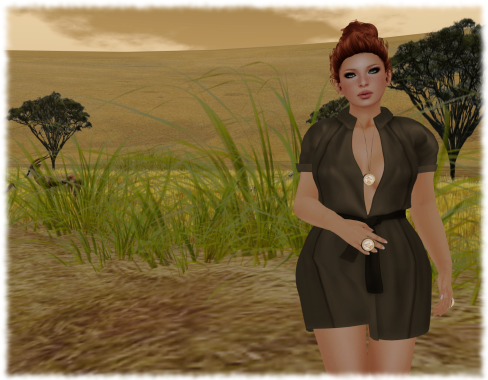
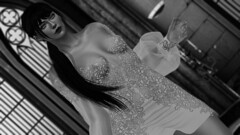
I’ve been running around in this gorgeous wrap dress from Valentina E. that is available at this round of The Liasion Collaborative for the last few days and since the theme at TLC this time is Safari, I’m going to walk you through how to create a safarish windlight. I’m on Catznip viewer so my tabs may be in different places than yours dependent on your viewer but all the tabs are labeled the same thing. Also, I run on medium/high graphics with local lights off so things may be slightly different and brighter if you run on high or ultra.
First, you’ll want to go to your windlights by selecting World-Environment Editor-Sky Presets-Edit Preset. I love tweaking other’s windlights but for this post, I’m going to use the default windlight so it’s completely new. Feel free to use your favorite and play with whichever one you want to though!
When I open up the default windlight to edit, you’ll see I have three tabs: Atmosphere, Lighting, and Clouds. Each control a different aspect of your windlight but I’ll start with Atmosphere first. When I think of safaris and Africa, my mind usually goes to browns and yellows so I want this sky to be brown and sort of dusty so I automatically changed the blue horizon and blue density tabs to brown tones. After I did that, I just played with the sliders. The haze sliders have a lot to do with blurring the sky out with a layer of haze. The further you increase them, the more haze you’ll have and I don’t like a lot so I just used a touch for this windlight. Then I slid the density multiplier slider just a tad because I want my sky to blend into the horizon but not to the point it’s not recognizable. The distance multiplier slider further blurs the sky into the horizon and sort of sinks it into the water so I like to keep that low too. Finally, the max altitude slider raises the haze higher into the sky. Since I want to keep my windlight even, I keep around the middle.

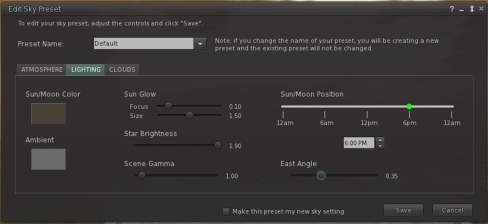
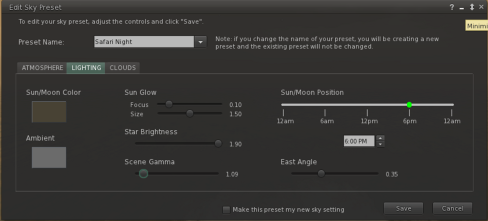
 After I’m done in the Atmosphere tab, I move onto the Lighting one. Here I basically keep my settings the same for all windlights I make. I run on an older laptop and my graphics aren’t the best so I have found that keeping the Sun/Moon position at either 6AM or 6PM makes my avatar’s skin and my clothing look the best. This means there is no ugly shadows across my avatar. I am unsure if better graphics all you to move around the Sun/Moon position so feel free to monkey around with it. East Angle moves the position of the sun. If you want it in the picture, you can slide it to be directly behind you or slightly off to the side. The Sun Glow Focus and Size sliders control how bright you want your sun to be. Since I want a nighttime picture, I have decreased these. Star brightness does exactly what it’s labeled. I love stars so of course I cranked that one up. I always imagine Africa as having a vast sky filled with stars. Scene Gamma increases or decreases the brightness of your picture. I feel like this slider can be too much if it’s increased a lot so I tend to keep it around 1.0-1.20. Ambient coloring changes the atmosphere around you. I tend to think of it as the avatar’s air but I’m a little strange. Since you want to actually see yourself, I tend to keep this lighter and usually a neutral color.
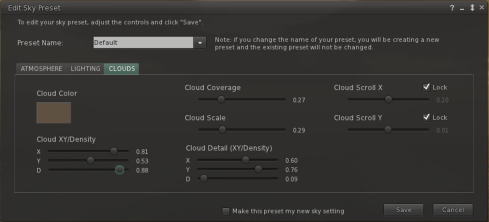
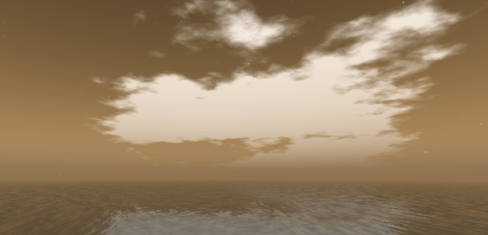 Moving on to my favorite tab, Clouds! I love clouds and rarely do I create a windlight without them. I feel like they add a little bit of realism to my picture. Keeping with my brown theme, I change the Cloud Color to a color a little lighter than my Atmosphere ones and I increase my Cloud Density sliders to the cloud thickness I’d like. If you don’t want any clouds in your windlight, just slide the Cloud Density D slider all the way to the left and it’ll clear them out for you. Cloud Coverage controls the amount of clouds you’d like in your picture. I feel like this slider and the Cloud Density ones work hand in hand. Again, if you don’t want clouds, you can slide this one all the way to the left and you’ll have a clear sky. Cloud Scale raises the clouds higher or lower into the sky and the Cloud Detail sliders control how whispy you’d like your clouds to look. It’s a lot of fun to just mess around with these sliders to find the clouds that suit you. I like puffy, whispy clouds myself. Finally, the Cloud Scroll sliders control the direction your clouds float in. I like to keep these locked though when I’m taking a pic so I have the right amount of clouds I prefer in all of my pictures. You can do whatever you like though!
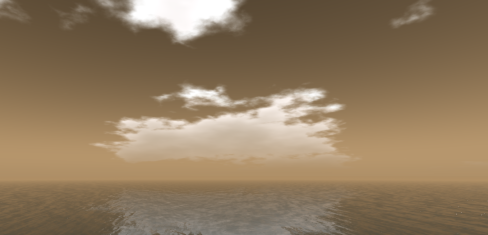
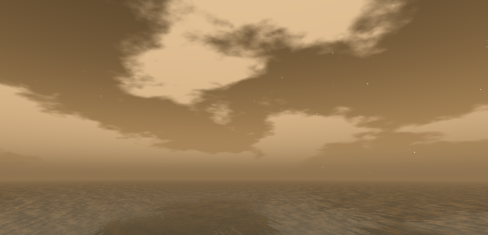 When I’m done messing with all of the tabs and sliders, I have one last step I take. I check to make sure that my avatar looks good under the windlight I created. Sometimes the pretty sky doesn’t make my avatar look attractive so the last thing I do is double check. When making this windlight, I noticed that it made my outfit and avatar’s skin and hair look a little more shadowy and dark than I’d like so I went back and increased the scene gamma a little to brighten it. I’ve found that either doing this or lightening the ambient a little are the easiest solutions to this problem. It does lighten the sky a little but it still keeps it basically the same.
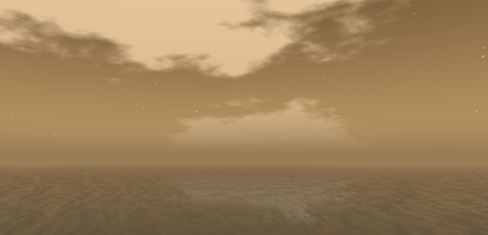 Voila! You are now finished and have been given a complete breakdown of how to make your own windlight. I hope this post helps you out a little. Don’t forget to name your windlight and save it after you’re done so that you can use it again and again. Also, if you have anything to add to this post, be sure to comment below because I’d love to hear anything other blogger’s do that create their own windlights. I’m also including a handy Youtube link that the Firestorm team released showing how to create a windlight if you’re more of a auditory learner.
P.S. I did brighten up my picture a little bit in GIMP with curves and I think that’ll be my next blog post so stay tuned!



Fantastic! Can’t wait to give it a go now.
Awesome! I can’t wait to see what you come up with.
Pingback: Give Me Reasons To Believe You’d Do the Same For Me
Pingback: PI (weekly) | PI en Second Life
Its better taught than the others. Would try it and blog my experience. Thank you so much 🙂
Thank you so much!
you are very welcome 🙂
TY, I made some wind lights, I use a Firestorm viewer on a MacBook Pro laptop…how do I get the wind lights into a note card to share with a friend or add them to a blog post?
I have googled this for 2 days now lol it keeps sending me to the trolley wiki which only shows how to download already made wind lights and install them.
thanks again
Owl
Oops .. Torley wiki